
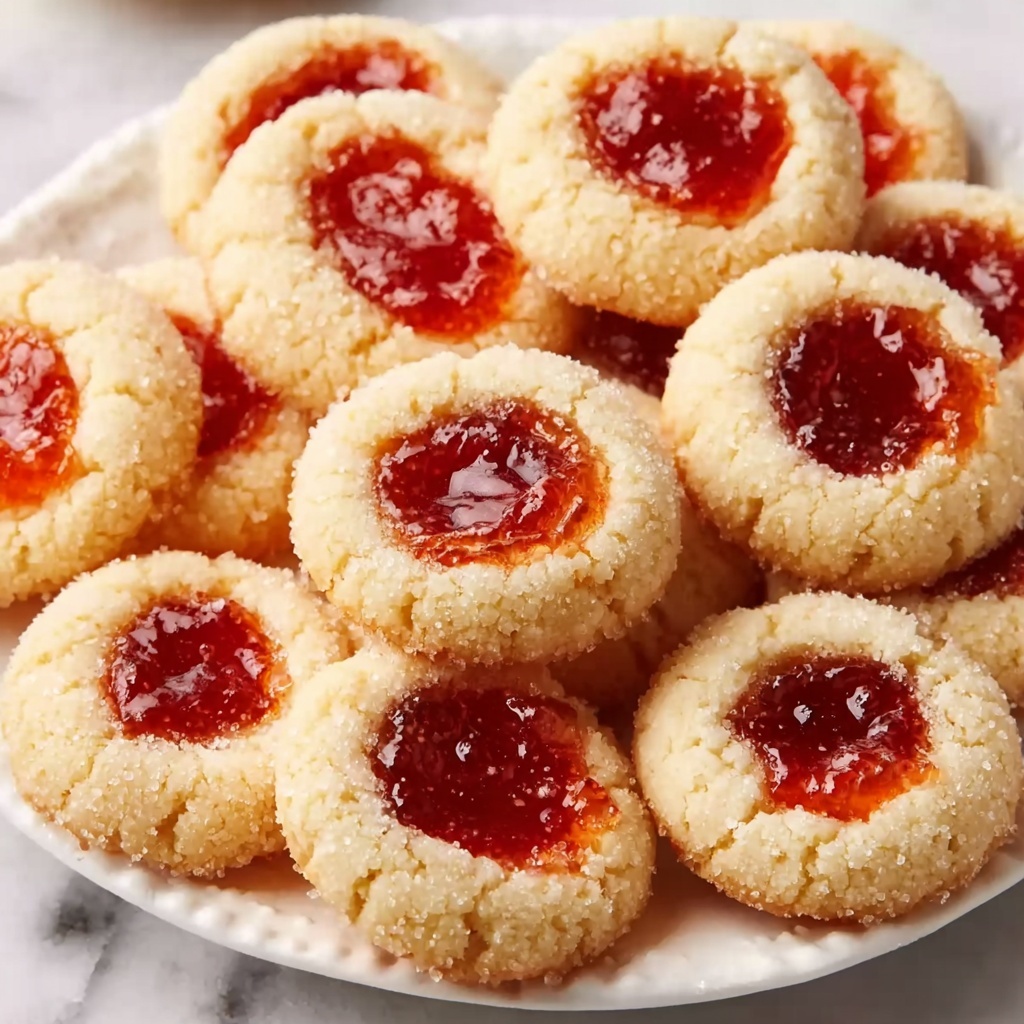
There is something utterly delightful and timeless about a homemade thumbprint cookie, and this Thumbprint Cookies Recipe captures that nostalgic charm perfectly. These buttery, tender cookies gently cradle a vibrant dollop of jam right in their centers, creating a beautiful balance of sweet, soft dough and fruity brightness in every bite. Whether you’re baking for a festive gathering or simply craving a cozy treat to share with loved ones, this recipe offers a reliable, easy-to-follow way to whip up a batch of irresistible cookies that will have everyone asking for seconds.
Ingredients You’ll Need
Getting your ingredients ready for this Thumbprint Cookies Recipe is straightforward, yet each one plays a crucial role in creating that perfect texture and flavor. From the creamy butter that gives the cookies their richness, to the jam that adds gorgeous color and fruity sweetness, every component comes together in a way that’s both simple and special.
- 1 cup unsalted butter, room temperature: Ensures the dough is soft and creamy, creating a tender crumb.
- ⅔ cup granulated sugar: Adds sweetness and helps with the light, crisp edges of the cookies.
- 1 teaspoon vanilla or almond extract: Offers a fragrant note that enhances the overall flavor beautifully.
- ½ teaspoon kosher salt: Balances the sweetness and intensifies the buttery taste.
- 2 cups all-purpose flour: The base for structure, giving the cookies their classic crumbly texture.
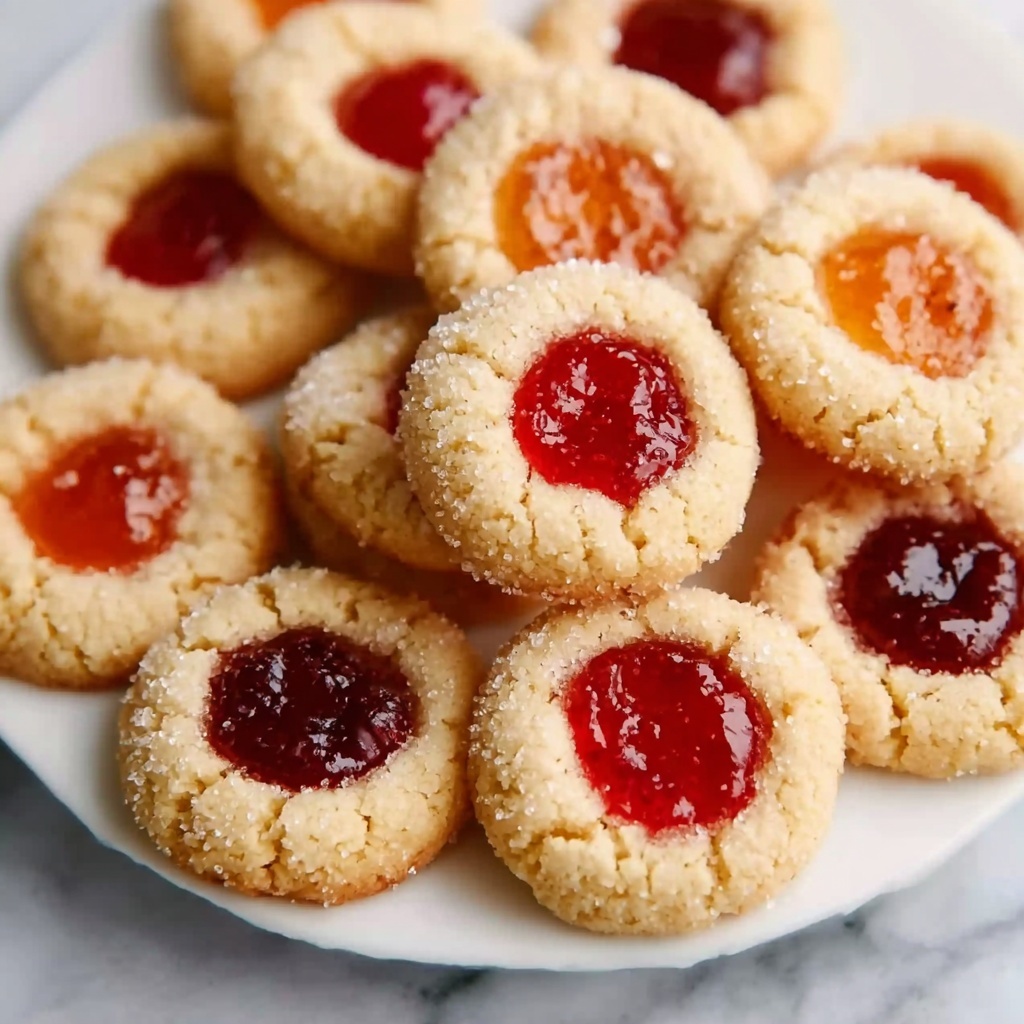
- ¼ cup jam (apricot or seedless raspberry recommended): Brings vibrant fruitiness and a lovely pop of color to the center of each cookie.
- ⅓ cup granulated sugar (for coating): Creates a sparkling exterior that’s irresistibly crunchy and sweet.
How to Make Thumbprint Cookies Recipe
Step 1: Cream the Butter and Sugar
Start by beating the softened butter and granulated sugar together in a stand mixer with a paddle attachment. This step is critical because it incorporates air into the mixture, resulting in light, fluffy cookies. Aim for about 2 to 3 minutes on medium speed until the texture turns pale and creamy—this signals you’re on the right track.
Step 2: Mix in Flavorings and Salt
Next, add your choice of extract—vanilla or almond—to infuse the dough with warm, inviting notes. Adding kosher salt at this stage might seem tiny, but it plays a huge part in balancing sweet and bringing out the rich flavors deeply. Blend everything just until combined, taking care not to overmix.
Step 3: Incorporate the Flour
Reduce your mixer speed to low and gradually add in the all-purpose flour. This slow addition allows the flour to absorb evenly without creating a tough dough. When the dough begins to come together, finish kneading by hand if needed, ensuring a smooth, cohesive ball. Remember, handling the dough gently keeps cookies tender and melt-in-your-mouth.
Step 4: Chill the Dough
Wrap your cookie dough tightly in plastic wrap and pop it into the refrigerator for one hour. This chilling step is essential for developing the dough’s flavor and making it easier to handle. Plus, it helps the cookies keep their shape during baking, so your thumbprint indents stay defined and ready for jam.
Step 5: Prepare for Baking
While the dough chills, preheat your oven to 350°F (175°C) and line baking sheets with parchment paper. This setup prevents sticking and helps achieve a golden, even bake. Once ready, move on to shaping your cookies.
Step 6: Shape and Coat the Cookies
Take small portions of dough—about a tablespoon each—and roll them into smooth balls. Next, roll every ball in the coating sugar to give the cookies that delightful crunch and shimmer. Place them neatly on the baking sheet, spaced to allow just enough room for spreading.
Step 7: Create the Thumbprint and Fill It
Now here’s the signature move: press your thumb or a rounded utensil gently but firmly into the center of each dough ball. This creates the charming little well that will hold your jam. Use about half a teaspoon of your chosen jam—apricot and seedless raspberry are classics—to fill each indentation to bursting brilliance.
Step 8: Bake and Cool
Bake your cookies in the preheated oven for approximately 14 to 15 minutes until the edges just start to turn golden brown. That gives you cookies that are perfectly tender with slightly crisp edges. Allow them to cool on the baking sheet for a minute before transferring to a wire rack to cool completely—this step prevents breakage and ensures the jam sets nicely.
How to Serve Thumbprint Cookies Recipe
Garnishes
The beauty of these Thumbprint Cookies Recipe creations is how well they take to extra touches. A light dusting of powdered sugar adds a wintery, elegant look perfect for holiday gatherings. Alternatively, a gentle drizzle of melted white chocolate over the jam centers adds a stunning visual contrast and extra sweetness that guests will adore.
Side Dishes
Pair these cookies with a warm cup of tea or coffee for a soul-soothing afternoon treat. They also make an excellent companion to a scoop of vanilla or cinnamon ice cream for a playful dessert twist. Their fruity centers elegantly complement creamy or spicy flavors, making serving options delightfully versatile.
Creative Ways to Present
For a charming gift, arrange Thumbprint Cookies Recipe cookies in a decorative tin or bake a batch and serve them in mini cupcake liners for individual portions. You can even layer them beautifully in a clear jar tied with a ribbon for a homemade gift that’s as thoughtful as it is delicious. Feel free to experiment with different jam flavors to brighten up your cookie tray visually and taste-wise.
Make Ahead and Storage
Storing Leftovers
If you find yourself with leftover thumbprint cookies, store them in an airtight container at room temperature. They will stay fresh and maintain their chewy, buttery texture for up to five days. Keeping them away from humidity ensures the sugar coating remains crisp and the jam stays luscious.
Freezing
You can freeze baked thumbprint cookies by placing them in a single layer on a baking sheet until solid, then transferring them to a freezer-safe bag or container. Properly wrapped, they keep well for up to three months. When you’re ready to enjoy, simply thaw at room temperature to preserve their wonderful texture and flavor.
Reheating
To rekindle that fresh-baked warmth, lightly warm the cookies in an oven set at 300°F for 5 to 7 minutes. Avoid microwaving, as it can soften the sugar coating and make the dough overly soft. Warming brings back the aroma and soft texture without compromising the jam’s integrity.
FAQs
Can I use other types of jam for the thumbprint cookies?
Absolutely! While apricot and seedless raspberry are classic choices, feel free to experiment with your favorites like strawberry, blueberry, or even marmalade. Just make sure the jam is smooth to avoid soggy cookies.
Is it necessary to chill the dough before baking?
Chilling the dough is highly recommended as it firms up the butter, making the dough easier to handle and preventing the cookies from spreading too much while baking. It also helps deepen the flavors.
Can I make these cookies gluten-free?
Yes, you can substitute the all-purpose flour with a gluten-free flour blend designed for baking, but results may vary slightly in texture. Adding a binding agent like xanthan gum can help maintain structure.
How long do thumbprint cookies keep fresh?
Stored properly in an airtight container at room temperature, these cookies usually remain fresh and delicious for about five days. Beyond that, they may start to lose their crispness.
Can I double the recipe for a larger batch?
Definitely! This Thumbprint Cookies Recipe scales up well. Just make sure you have enough space in your fridge for chilling the dough and bake in batches to avoid overcrowding the oven.
Final Thoughts
There really is nothing quite like sharing a batch of freshly baked, jam-filled thumbprint cookies with family or friends. This Thumbprint Cookies Recipe offers the perfect blend of buttery dough and vibrant fruity centers, making it a crowd-pleaser for any occasion. I encourage you to try it out—once you do, these charming cookies just might become a beloved staple in your baking repertoire too!
Print
Thumbprint Cookies Recipe
- Prep Time: 15 minutes
- Cook Time: 15 minutes
- Total Time: 1 hour 30 minutes
- Yield: 24 servings
- Category: Dessert, Cookies
- Method: Baking
- Cuisine: American
Description
Delight in these classic Thumbprint Cookies featuring a buttery, tender dough rolled in sugar and filled with your choice of sweet jam. Perfect for holiday treats or everyday snacking, these cookies combine a light, creamy texture with a fruity center for a satisfying bite.
Ingredients
Cookie Dough
- 1 cup unsalted butter, room temperature
- ⅔ cup granulated sugar
- 1 teaspoon vanilla extract or almond extract
- ½ teaspoon kosher salt
- 2 cups all-purpose flour
Filling and Coating
- ¼ cup jam (apricot and seedless raspberry recommended)
- ⅓ cup granulated sugar (for coating)
Instructions
- Beat Butter and Sugar: In a stand mixer bowl fitted with the paddle attachment, beat the unsalted butter and ⅔ cup granulated sugar on medium speed for 2-3 minutes until the mixture becomes light and creamy, which helps achieve a tender cookie texture.
- Add Flavor and Salt: Incorporate the vanilla or almond extract along with the kosher salt into the butter mixture; mix just until combined to evenly distribute the flavors.
- Mix in Flour: Scrape down the sides of the bowl, then reduce the mixer speed to low and gradually add the all-purpose flour. Continue mixing until a dough forms. If needed, finish mixing by hand to ensure the dough is fully combined but not overworked.
- Chill the Dough: Shape the dough into a ball, wrap it tightly in plastic wrap, and refrigerate for 1 hour. Chilling solidifies the fat and prevents spreading during baking.
- Preheat Oven and Prepare Sheets: Preheat your oven to 350°F (175°C). Line baking sheets with parchment paper to prevent sticking and ensure even baking.
- Shape and Coat Cookies: Place the ⅓ cup granulated sugar for coating in a shallow bowl. Scoop out 1 tablespoon portions of dough and roll each into a ball. Roll the balls in the sugar to coat thoroughly, then arrange them on the prepared baking sheets.
- Create Thumbprints and Fill: Press your thumb or the back of a spoon into the center of each sugar-coated dough ball to make an indentation. Fill each indentation with about ½ teaspoon of your chosen jam.
- Bake and Cool: Bake the cookies in the preheated oven for 14-15 minutes, or until the edges just begin to brown, indicating they are done. Let them cool on the baking sheet for 1 minute before transferring to a wire rack to cool completely.
Notes
- Use room temperature butter for easier mixing and better texture.
- Refrigerating the dough is essential to prevent spreading during baking.
- You can substitute the jam with your favorite flavors, such as strawberry or blueberry.
- Press thumbprints gently to avoid flattening the cookies too much.
- Store baked cookies in an airtight container at room temperature for up to 5 days.


