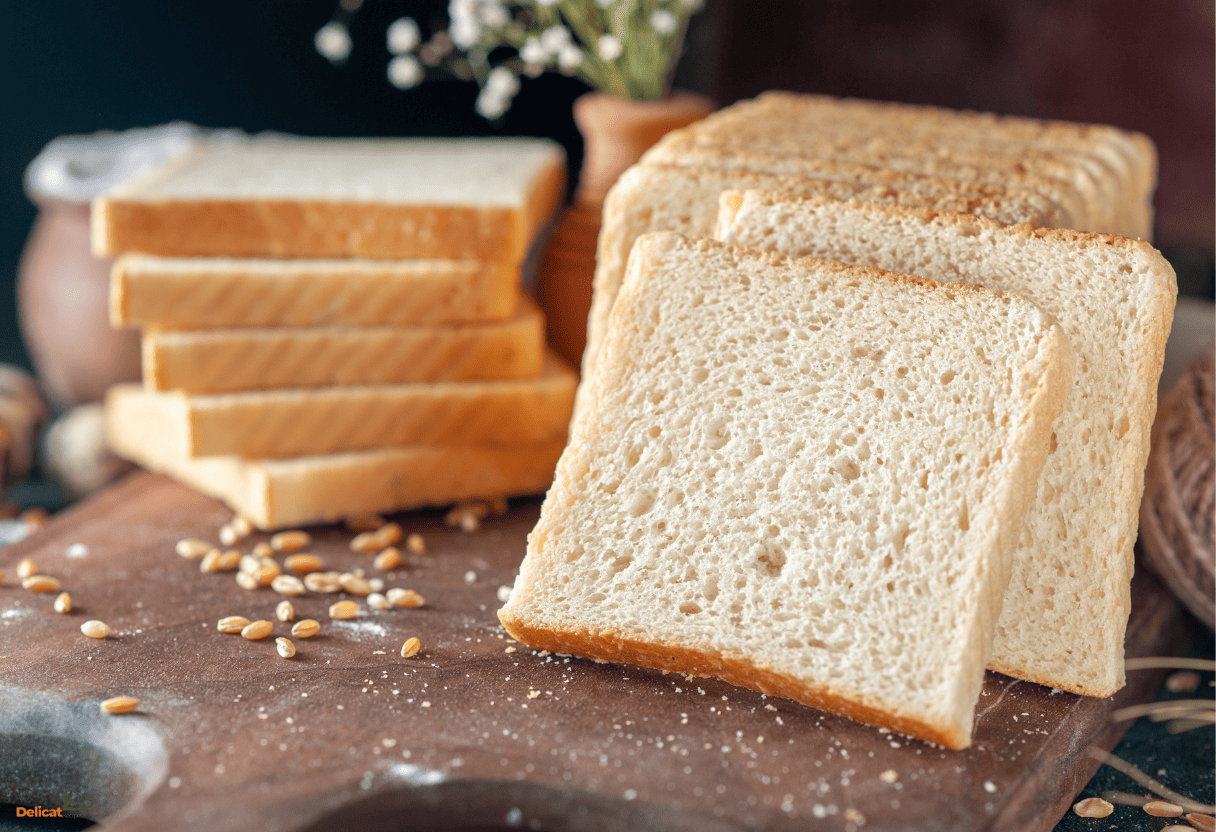
When it comes to homemade bread, nothing can beat the delightful aroma that fills your kitchen or the satisfaction of slicing into a soft, fluffy loaf. This easy sandwich bread recipe will guide you step by step, ensuring that your homemade bread turns out perfect every time. Whether you’re making sandwiches for a picnic, toast for breakfast, or simply enjoying a slice with butter, this bread is sure to impress.
Table of Contents
Why Homemade Sandwich Bread?
You might be wondering why you should go through the trouble of making bread at home when you can simply buy it at the store. The truth is, homemade sandwich bread offers numerous advantages that make the effort worthwhile:
- Freshness: There’s nothing like biting into a slice of freshly baked bread. Homemade bread is free from preservatives, ensuring that it tastes great and is healthier for you and your family.
- Flavor: You can customize the taste and texture of your bread. Want it a little sweeter? Or perhaps you prefer a richer flavor? The choice is yours.
- Quality Control: Making your own bread allows you to choose quality ingredients. You can avoid artificial additives and opt for organic or non-GMO options if desired.
- Nostalgia and Connection: Baking bread can be a rewarding experience that connects you with family traditions. It’s a wonderful way to create lasting memories.
Ingredients for Soft, Fluffy Sandwich Bread
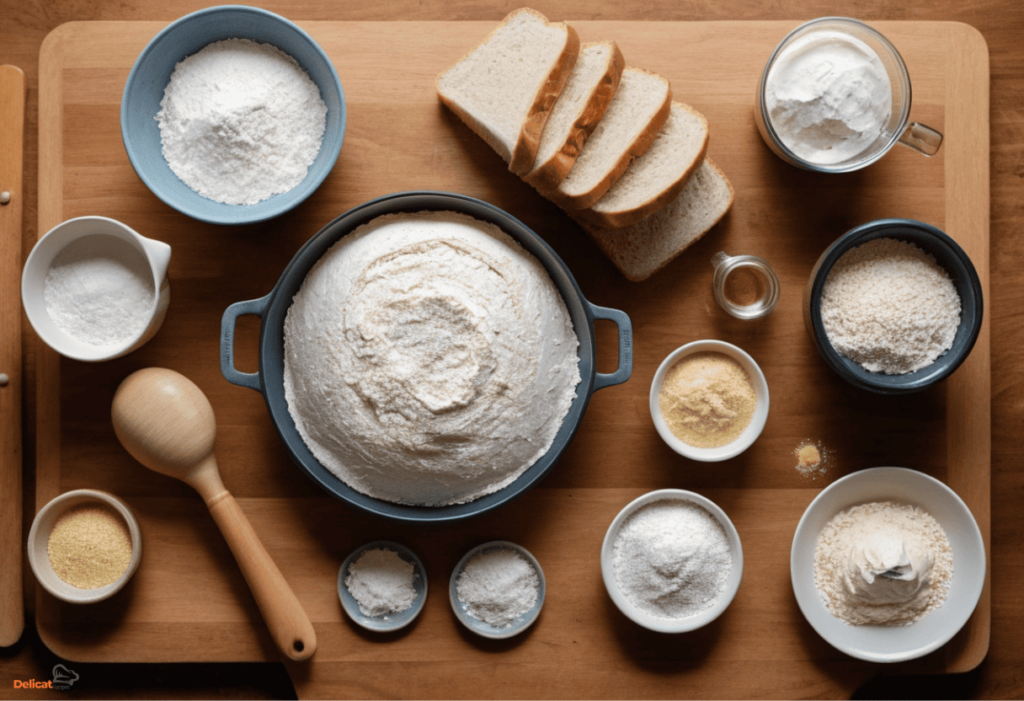
Before you start, gather the following ingredients. Having everything prepared in advance will make the process easier and more enjoyable.

| Ingredient | Quantity |
|---|---|
| All-purpose flour | 4 cups |
| Active dry yeast | 2 teaspoons |
| Sugar | 2 tablespoons |
| Salt | 1 teaspoon |
| Warm water | 1.5 cups |
| Unsalted butter | 4 tablespoons |
| Milk (optional) | 1/4 cup |
Key Points about Ingredients
- All-Purpose Flour: This is your primary ingredient, providing the structure and texture for the bread. It’s essential to measure your flour correctly—too much can lead to dense bread.
- Active Dry Yeast: This ingredient is crucial for making your bread rise. Always check the expiration date to ensure it’s still active.
- Sugar: Sugar not only adds sweetness but also feeds the yeast, helping it activate more effectively.
- Salt: This enhances flavor and controls yeast activity, preventing it from rising too quickly.
- Warm Water: Yeast thrives in warm water (around 110°F or 43°C). If it’s too hot, it can kill the yeast, and if it’s too cold, it won’t activate.
- Unsalted Butter: Adding butter makes your bread rich and flavorful. It also contributes to the bread’s softness.
- Milk: Although optional, adding milk can enhance the flavor and make the bread even softer.
Step-by-Step Instructions
Preparing the Dough
- Activate the Yeast: In a small bowl, mix together the warm water and sugar. Sprinkle the active dry yeast on top and let it sit for about 5–10 minutes until it becomes frothy. This indicates that the yeast is active.
- Mix the Dry Ingredients: In a large mixing bowl, combine the flour and salt. Mix them thoroughly to ensure the salt is evenly distributed.
- Combine Wet and Dry Ingredients: Pour the activated yeast mixture into the flour mixture. If you’re using milk, add it now. Mix until the dough begins to form.
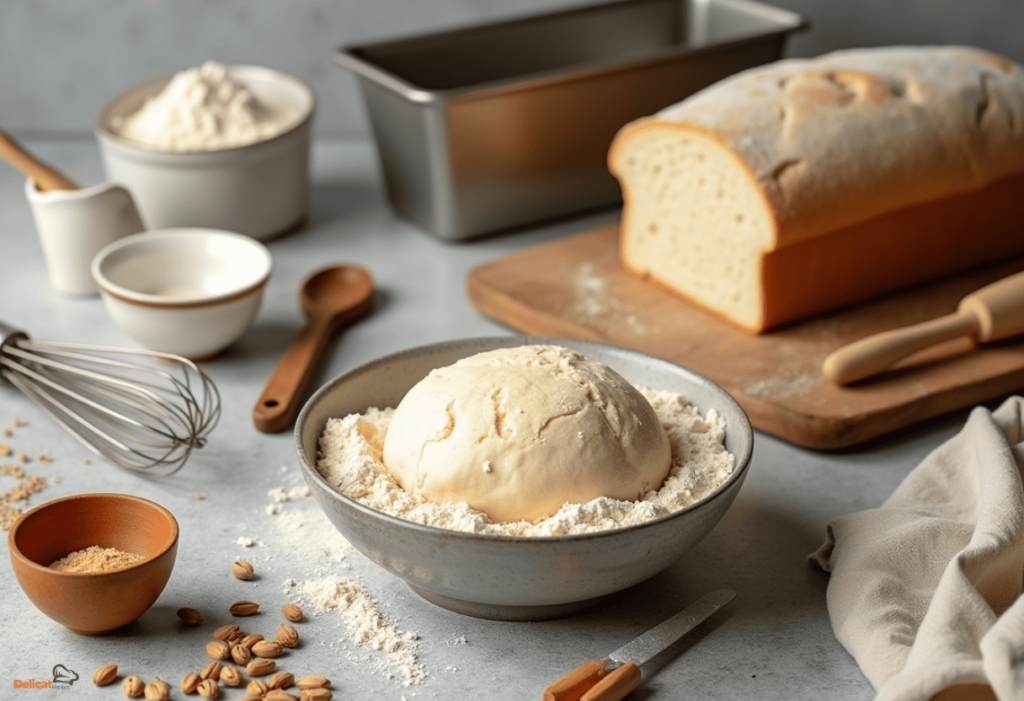
- Knead the Dough: Move the dough to a lightly floured surface. Knead for about 8–10 minutes, until it becomes smooth and elastic. This process helps develop the gluten, which gives the bread its structure.

First Rise
- Let the Dough Rise: Place the kneaded dough in a greased bowl, turning it to coat all sides with oil. Cover the bowl with a clean kitchen towel or plastic wrap.
- Rising Time: Let it rise in a warm place for about 1 hour or until it has doubled in size. This is a crucial step for achieving fluffy bread.
Shaping the Loaf
- Punch Down the Dough: After the dough has risen, gently punch it down to release the air.
- Shape the Dough: Place the dough onto a lightly floured surface. Flatten it into a rectangle, then roll it up tightly from one end to the other. Pinch the seams to seal.
- Place in a Loaf Pan: Transfer the shaped dough into a greased loaf pan, seam side down.
Second Rise
- Let it Rise Again: Cover the loaf with a towel and let it rise again for about 30–45 minutes until it has doubled in size once more.
Baking the Bread
- Preheat the Oven: While the dough is rising, set your oven to preheat at 375°F (190°C).
- Bake: Once the loaf has risen, bake it in the preheated oven for 30–35 minutes, or until it turns golden brown and sounds hollow when tapped on the bottom.
- Cooling: After baking, remove the loaf from the oven and let it cool in the pan for about 10 minutes. Next, move it to a wire rack to cool completely before slicing.
Storage Tips for Homemade Sandwich Bread
To keep your homemade sandwich bread fresh and delicious, follow these storage tips:
- Room Temperature: Store bread in an airtight container or a bread bag at room temperature for up to 3 days.
- Freezing: If you want to keep the bread for a longer time, slice it and wrap it tightly in plastic wrap, then place it in a freezer bag. Frozen bread can last for up to 3 months.
- Reheating: To restore the bread’s softness, you can place it in a preheated oven at 350°F (175°C) for about 10 minutes. For frozen slices, you can toast them straight from the freezer.
Creative Ways to Use Your Sandwich Bread
Now that you have a soft and fluffy loaf, here are some creative ways to enjoy it:
- Classic Sandwiches:
- BLT: Layer crispy bacon, fresh lettuce, and juicy tomatoes for a classic.
- Turkey Club: Stack turkey, cheese, lettuce, and tomato for a hearty meal.
- Toasts:
- Avocado Toast: Mash ripe avocados with a sprinkle of salt and spread it on toasted slices for a healthy breakfast.
- French Toast: Dip slices in an egg and milk mixture, then fry until golden for a delicious breakfast treat.
- Recipes:
- Bread Pudding: Use stale bread to make a sweet bread pudding for dessert.
- Breadcrumbs: Pulse leftover bread in a food processor to make fresh breadcrumbs for topping casseroles.
Frequently Asked Questions (FAQs)
What is the best flour to use for sandwich bread?
The best flour for sandwich bread is all-purpose flour, as it provides a good balance of protein for structure. You can also use bread flour for a chewier texture, or whole wheat flour for a healthier option, but you may need to adjust the liquid content.
Why is my bread not rising?
If your bread isn’t rising, the yeast may not be active. Ensure the water is at the right temperature when activating the yeast, and check the expiration date of your yeast. Additionally, make sure you’re letting the dough rise in a warm place.
Is it possible to use whole wheat flour in this recipe?
Yes, you can substitute whole wheat flour, but it’s best to use a combination of whole wheat and all-purpose flour to maintain a light texture. You may also need to increase the liquid slightly.
Conclusion
Making homemade sandwich bread is not just about enjoying a tasty loaf; it’s about the experience, the memories, and the joy of creating something with your own hands. With this easy sandwich bread recipe for soft, fluffy loaves, you can impress your family and friends while filling your home with the comforting aroma of fresh bread.
So, what are you waiting for? Gather your ingredients, roll up your sleeves, and dive into this delightful baking journey. Once you taste the difference, you’ll never want to go back to store-bought again. Share your creations with us and enjoy every bite of your homemade bread!

