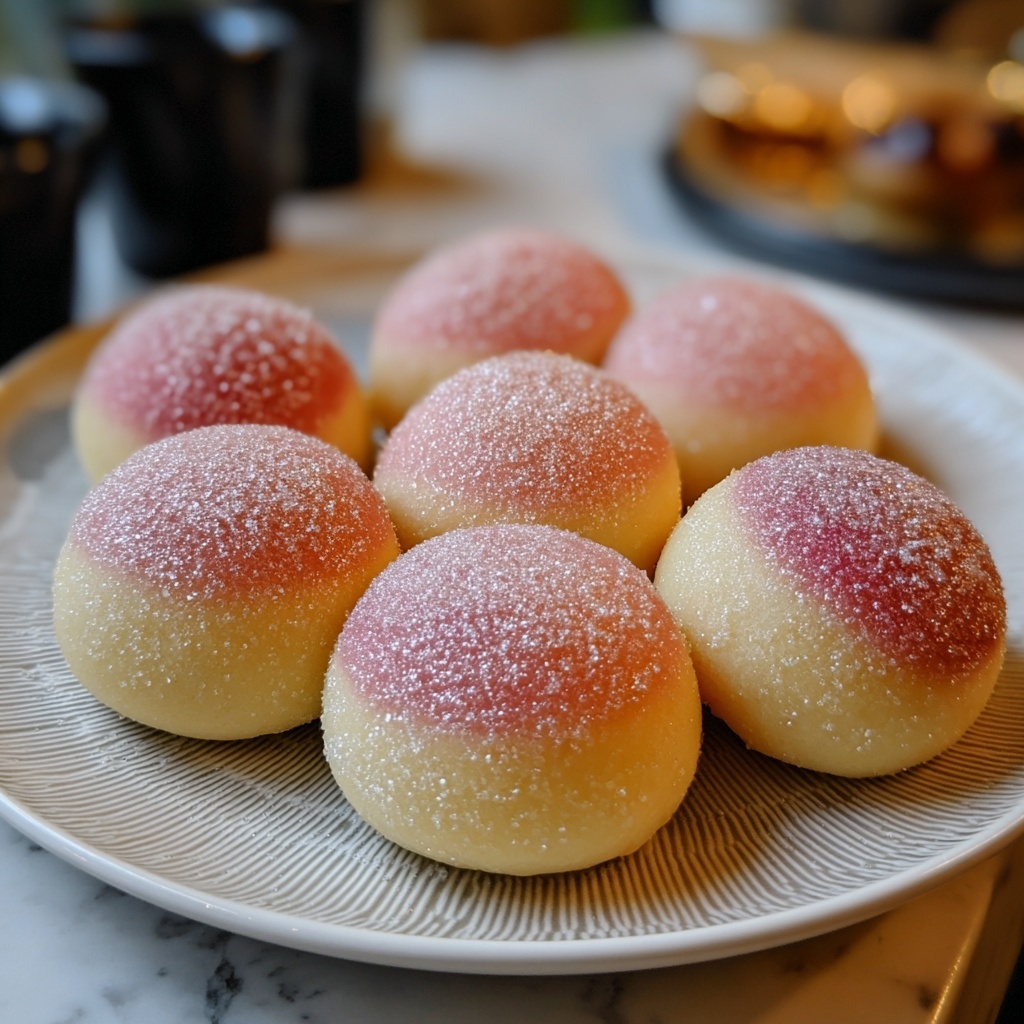
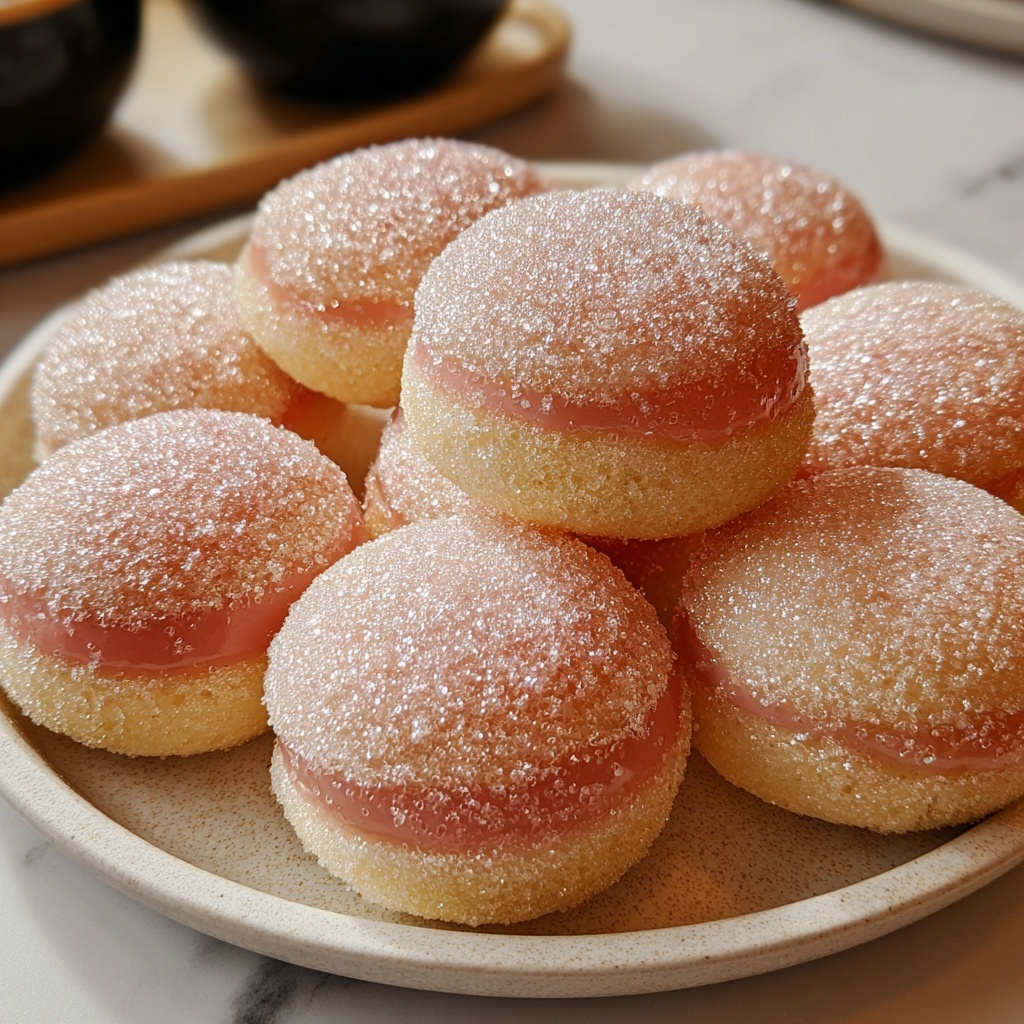
If you’ve never experienced mochi doughnuts before, get ready for a delightful treat that combines the chewy magic of glutinous rice with the comforting crispness of a fried doughnut. This Mochi Doughnuts Recipe is a wonderful fusion of traditional Japanese texture and familiar Western flavors, resulting in a snack that’s perfectly addictive. Each bite gives you a satisfyingly soft chewiness paired with a golden, slightly crisp exterior that makes these doughnuts stand out from the crowd. Whether you’re new to mochi or a longtime fan, this recipe is incredibly approachable and yields doughnuts that are just as fun to make as they are to eat.
Ingredients You’ll Need
This Mochi Doughnuts Recipe calls for a handful of simple, everyday ingredients that come together beautifully to create its signature chewy texture and subtle sweetness. Each ingredient plays a key role in the balance of flavor, texture, and appearance, making this recipe both reliable and delicious.
- Glutinous rice flour (mochiko): The star ingredient that gives doughnuts their chewy, mochi-like texture.
- All-purpose flour: Adds structure and lightness to the dough for the perfect bite.
- Granulated sugar: Sweetens the dough just right without overwhelming the flavor.
- Baking powder: Provides gentle leavening for a tender crumb.
- Salt: Enhances all the flavors and balances the sweetness.
- Milk: Moisturizes the batter and contributes to a tender doughnut.
- Egg: Binds ingredients and adds richness.
- Unsalted butter (melted): Infuses buttery flavor and helps keep the dough soft.
- Vanilla extract: Adds a warm, aromatic note that complements the doughnut beautifully.
- Vegetable oil for frying: Essential for achieving that golden, crispy exterior.
- Powdered sugar or glaze (optional): For dusting or drizzling to add a touch of sweetness and flair.
How to Make Mochi Doughnuts Recipe
Step 1: Mix Dry Ingredients
Begin by whisking together the glutinous rice flour, all-purpose flour, sugar, baking powder, and salt in a medium bowl. This ensures the leavening agent and seasonings are evenly distributed, which helps create a uniform texture in your doughnuts.
Step 2: Combine Wet Ingredients
In a separate bowl, blend the milk, egg, melted butter, and vanilla extract until smooth and well combined. This mixture adds moisture and richness to the doughnut batter, crucial for achieving that perfect chewiness.
Step 3: Create the Batter
Pour the wet ingredients into the dry mixture, stirring gently until a smooth batter forms. Be careful not to overmix; a gently mixed batter yields tender doughnuts with just the right chew.
Step 4: Heat the Oil
Fill a deep skillet or fryer with vegetable oil and heat it to 350°F. Maintaining the correct temperature is essential to achieve a crisp, golden crust without absorbing excess oil.
Step 5: Shape and Fry the Doughnuts
Using a piping bag or spoon, carefully form the batter into small rings or classic doughnut shapes and gently lower them into the hot oil. Fry each side for about 2 to 3 minutes until golden brown and cooked through.
Step 6: Drain and Cool
Remove the doughnuts with a slotted spoon and lay them on paper towels to absorb any excess oil. Let them cool slightly before moving on to garnishing or serving, so you don’t lose their delicate texture.
How to Serve Mochi Doughnuts Recipe

Garnishes
For a simple and classic finish, dust your mochi doughnuts with powdered sugar or drizzle a light glaze over the top. You can also get creative by topping them with matcha powder, toasted sesame seeds, or a chocolate drizzle for added flavor and visual appeal.
Side Dishes
Mochi doughnuts pair beautifully with a warm cup of tea, whether it’s green tea, hojicha, or a fragrant jasmine. Their subtle sweetness also complements fresh fruit like strawberries or a scoop of vanilla ice cream for an indulgent treat.
Creative Ways to Present
Try stacking the mochi doughnuts on a serving tier with an assortment of toppings on the side for a fun DIY station. Alternatively, skewering them on cute sticks or threading them with colorful ribbons can make for a delightful party presentation that guests will love.
Make Ahead and Storage
Storing Leftovers
If you have any leftover mochi doughnuts, store them in an airtight container at room temperature for up to one day to maintain their chewy texture. Keep in mind that mochi doughnuts are best enjoyed fresh, as they can harden over time.
Freezing
To freeze, allow the doughnuts to cool completely, then place them in a single layer on a baking sheet and freeze until solid. Transfer to a freezer-safe bag or container, and they will keep well for up to one month. Just thaw them at room temperature before reheating.
Reheating
Reheat mochi doughnuts gently in a preheated oven at 300°F for about 5 to 7 minutes to bring back their warmth and slight crispness. Avoid microwaving as it can compromise their texture, making them chewy in an undesirable way.
FAQs
Can I use regular rice flour instead of glutinous rice flour for this Mochi Doughnuts Recipe?
Regular rice flour doesn’t provide the same chewy texture that glutinous rice flour does. The unique stretchy and soft quality of mochi doughnuts comes from the mochiko (glutinous rice flour), so it’s best to stick with that for authentic results.
Is there a way to make these doughnuts gluten-free?
Since the main flour is glutinous rice flour, the doughnuts are largely gluten-free, but the recipe does call for all-purpose flour, which contains gluten. You could try substituting with a gluten-free flour blend designed for baking to maintain texture, but the results might vary slightly.
What is the best oil to fry mochi doughnuts?
Vegetable oil is a popular choice because it has a neutral flavor and a high smoke point, which helps you fry to a perfect golden color without imparting unwanted tastes or burning the doughnuts.
How do I achieve the classic doughnut ring shape with this batter?
Using a piping bag with a round tip works beautifully to pipe even rings directly into the hot oil. Alternatively, you can pipe small balls and assemble them together after frying to create the characteristic ring shape known as “pon de ring.”
Can I add flavors like matcha or cocoa to this Mochi Doughnuts Recipe?
Absolutely! Incorporating matcha or cocoa powder into the batter is a fantastic way to add flavor twists and vibrant colors. Just adjust the dry ingredients slightly as these powders will absorb moisture differently.
Final Thoughts
This Mochi Doughnuts Recipe is truly a gem that brings together the best of chewy and crispy textures with simple, accessible ingredients. Making these doughnuts at home is surprisingly easy and incredibly rewarding, especially when you share them fresh and warm with friends or family. I can’t wait for you to give this recipe a try and discover your own favorite way to enjoy these addictive treats!
Print
Mochi Doughnuts Recipe
- Prep Time: 15 minutes
- Cook Time: 10 minutes
- Total Time: 25 minutes
- Yield: 8 doughnuts
- Category: Dessert
- Method: Frying
- Cuisine: Japanese-American
- Diet: Vegetarian
Description
These Mochi Doughnuts combine the chewy texture of glutinous rice flour with a sweet and tender fried dough, offering a delightful twist on traditional doughnuts. Originating from Japanese-American cuisine, these treats are perfect for dessert or a special snack, boasting a crisp golden exterior and a soft, chewy interior. Topped with powdered sugar or glaze, they bring an irresistible flavor and texture contrast that’s sure to please any sweet tooth.
Ingredients
Dry Ingredients
- 1 cup glutinous rice flour (mochiko)
- 1/4 cup all-purpose flour
- 1/4 cup granulated sugar
- 1 teaspoon baking powder
- 1/4 teaspoon salt
Wet Ingredients
- 1/2 cup milk
- 1 large egg
- 2 tablespoons unsalted butter, melted
- 1 teaspoon vanilla extract
For Frying and Topping
- Vegetable oil, for frying
- Powdered sugar or glaze for topping (optional)
Instructions
- Mix Dry Ingredients: In a medium bowl, whisk together the glutinous rice flour, all-purpose flour, granulated sugar, baking powder, and salt until well combined, ensuring an even distribution of leavening and seasoning.
- Combine Wet Ingredients: In a separate bowl, mix the milk, egg, melted unsalted butter, and vanilla extract thoroughly until the mixture is smooth and homogenous.
- Form Batter: Pour the wet ingredients into the bowl with the dry ingredients and stir gently with a spatula or spoon until a smooth batter forms without large lumps. Avoid overmixing to maintain a light texture.
- Heat Oil: In a deep skillet or fryer, heat vegetable oil to 350°F (175°C). Use a thermometer to maintain the correct frying temperature which is essential for proper cooking and texture.
- Shape Doughnuts: Using a piping bag or a spoon, carefully form the batter into doughnut shapes or small rings. Work quickly but carefully to keep the shapes intact.
- Fry Doughnuts: Gently place the shaped batter into the hot oil, frying 2 to 3 minutes per side until the doughnuts turn golden brown and are cooked through. Avoid overcrowding to maintain oil temperature.
- Drain and Cool: Remove doughnuts using a slotted spoon and place them on paper towels to drain excess oil. Let them cool slightly before adding toppings.
- Add Toppings: Dust the doughnuts with powdered sugar or drizzle with your choice of glaze while still slightly warm for best adhesion and flavor.
Notes
- For extra flavor, incorporate matcha powder or cocoa powder to the batter before frying.
- Mochi doughnuts are best enjoyed fresh as they can harden if stored for too long.
- Maintain consistent oil temperature for even cooking and to prevent greasy doughnuts.


